Grim Facade: Cost of Jealousy Walkthrough 13
Follow our crystal clear walkthrough and helpful tricks to get you through the rough spots! Click the button to download full walkthrough.
Touch anywhere on the scene to activate a cut scene.
Take the BOOK (A).
Zoom into the large table; use the FLASK on the oil to get the FLASK WITH OIL (B).
Zoom into the small table; open the shell and take the GOLD COIN (@) and the PEARL (C).
Take a closer look at the dinosaur's mouth; insert the FORK in it and take the MAP FRAGMENT 1/5 (D).
Go through the doorway.
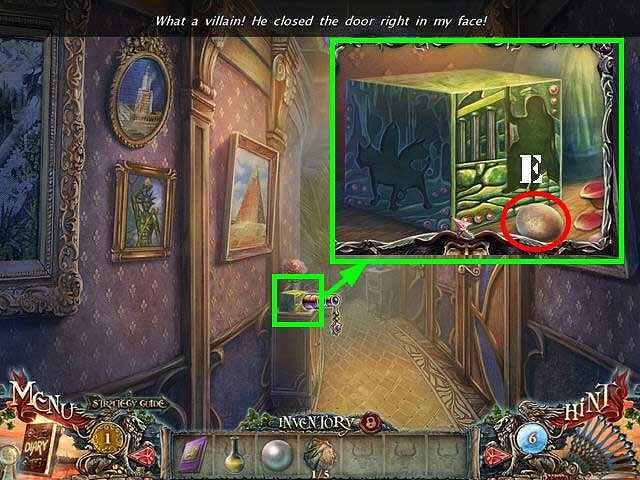
Zoom into the box on the table and take the EGG (E).
Walk down twice.
Zoom into the window; place the EGG in the nest (F) and take the GOLD COIN (@) and the CROWN (G).
Take a closer look at the stone hand; use the FLASK WITH OIL on it and take the SPEARHEAD (H).
Zoom into the table; open the purse with the SPEARHEAD and take the 2 COINS (@2).
Go back into the office and then go through the doorway.


 REFRESH